Have you ever wondered how your local shop makes their soft serve ice cream? I’m going to let you in on the secret – it’s easier than you think to whip up this tasty frozen treat right at home.
I still remember the first time I tried making soft serve with my kids. We had an absolute blast getting our ingredients together and taking turns cranking the handle of my old soft serve maker. The look of joy on their little faces, when that first homemade cone was devoured, will always stick with me.
This guide will walk you step-by-step through the whole process, from measuring ingredients to serving up bowls bursting with that smooth, dreamy softness.
Ingredients and Equipment
If you are too lazy to make ice cream, you can always visit ice cream shops in Brooklyn. But if you are interested in preparing your own delicious, let’s do this. To begin, gather the necessary ingredients and equipment. You’ll need:
- 1 pint of store-bought ice cream (any flavor)
- Optional: mix-ins or toppings such as chocolate syrup, sprinkles, or crushed cookies
- Kitchen mixer or hand mixer
- Piping bag with a star tip (optional)
Having these items ready will ensure a smooth preparation process.
Softening the Ice Cream
The first step is to soften the ice cream. Remove the ice cream from the freezer and let it sit at room temperature for about 10-15 minutes. This softens the ice cream without melting it completely, making it easier to work with.
Proper softening is crucial as it allows for better mixing and a smoother final texture.
Mixing the Ice Cream
Once the ice cream has softened, place it in a large mixing bowl. Using a kitchen mixer or hand mixer, whip the ice cream in a medium setting. This step is essential because it introduces air into the ice cream, mimicking the texture of soft serve.
Mix until the ice cream is smooth and creamy, which should take about 2-3 minutes.
Optional: Adding Mix-Ins
For those who want to add a personal touch, now is the time to incorporate your favorite mix-ins. Whether you prefer chocolate chips, crushed cookies, or sprinkles, add these toppings during the last minute of mixing.
This ensures they are evenly distributed throughout the ice cream without losing their texture.
Preparing for Serving
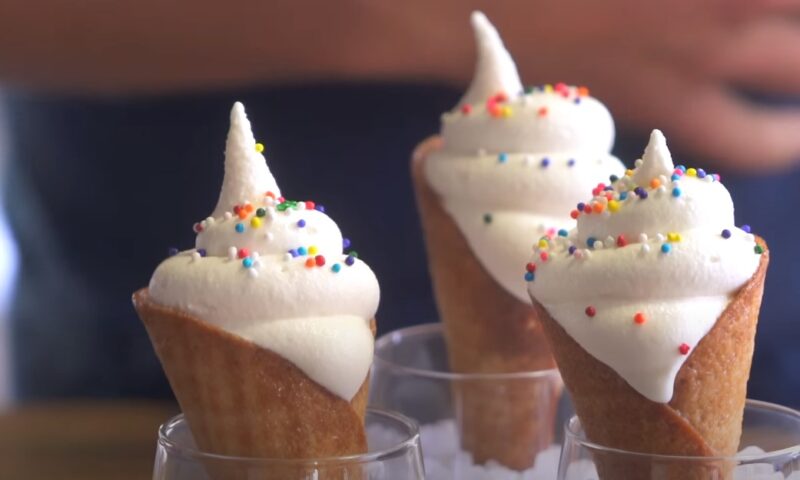
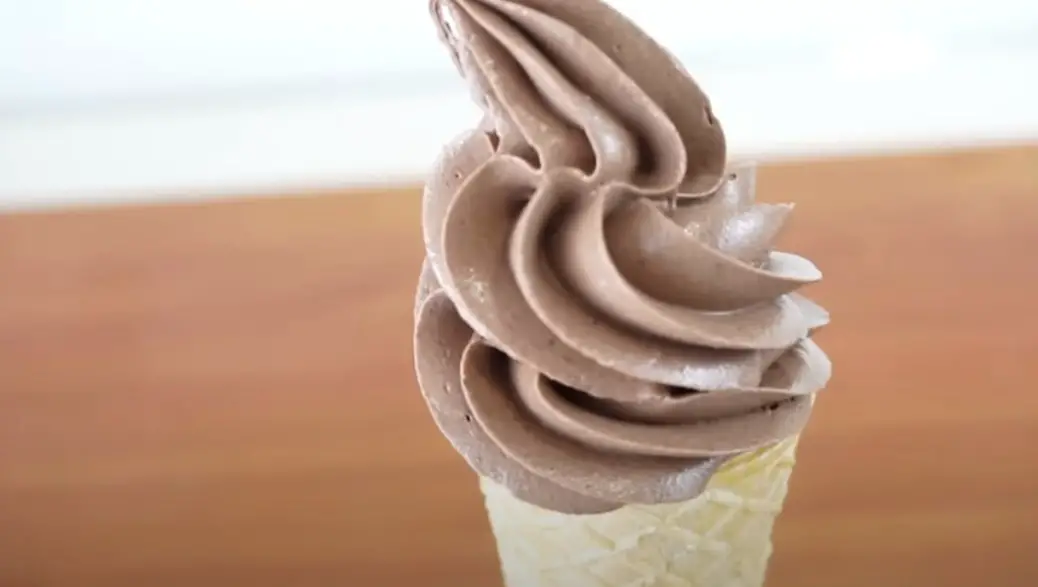
After mixing, transfer the whipped ice cream into a piping bag fitted with a star tip to create a classic soft-serve swirl. If you don’t have a piping bag, simply scoop and serve the ice cream.
Using a piping bag can give your ice cream that professional, swirled look that is often seen in soft serve cones.
Serving
Serve the ice cream immediately after preparation to enjoy it at its best consistency. If you are not serving it right away, place the bowl of ice cream back in the freezer to slightly harden for about 10-15 minutes.
This brief freezing period helps maintain the soft serve texture without becoming too hard.
Customization
Soft-serve ice cream can be customized to suit individual preferences.
Add additional toppings like syrups, sprinkles, or fresh fruits to personalize each serving. This flexibility allows everyone to enjoy their favorite flavors and textures in their dessert.
Conclusion
Making soft serve ice cream at home is a simple yet satisfying process. With just a few ingredients and some basic kitchen tools, you can create a delicious treat that rivals any store-bought version.
Remember to soften the ice cream properly, mix it well to introduce air, and serve it immediately for the best results. Customize your ice cream with mix-ins and toppings to make it uniquely yours.
Enjoy the process and the delightful results of your homemade soft serve ice cream.


